How to Use the Stable Diffusion with AUTOMATIC1111 - GPU AWS AMI from the AWS Marketplace
Stable Diffusion is a powerful machine learning model for generating high-quality images from textual descriptions. With the AUTOMATIC1111 interface, it’s even easier to interact with and deploy your models. This guide will walk you through the steps to find, launch, and manage the Stable Diffusion with AUTOMATIC1111 - GPU AWS AMI from the AWS Marketplace.
Step 1: Access the AWS Marketplace
- Log into your AWS Management Console: Navigate to AWS Management Console and log in with your AWS credentials.
- Go to the AWS Marketplace: In the Management Console, locate the AWS Marketplace under the ‘Services’ menu or visit AWS Marketplace.
Step 2: Search for the AMI
- Search for “Stable Diffusion with AUTOMATIC1111 - GPU”: Use the search bar in the AWS Marketplace to find the specific AMI or access directily from the link Stable Diffusion with AUTOMATIC1111 - GPU
- Review AMI details: Click on the AMI to view its details, including pricing, software included, instances supported, and user reviews. Ensure that the AMI meets your requirements.
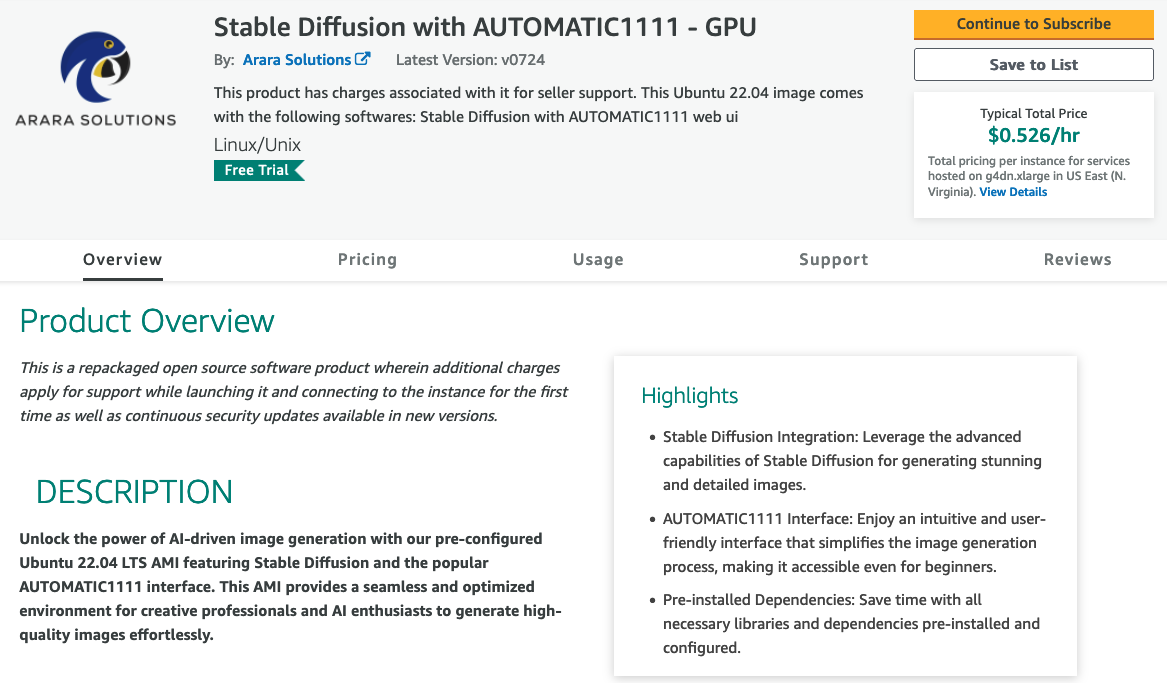
AMI Details
Step 3: Subscribe to the AMI
- Click ‘Continue to Subscribe’: On the AMI details page, click the ‘Continue to Subscribe’ button.
- Review the terms: Read the subscription terms carefully. Some instance types have additional costs.
- Accept the terms: If you agree with the terms, click the ‘Accept Terms’ button. This process may take a few minutes to complete.
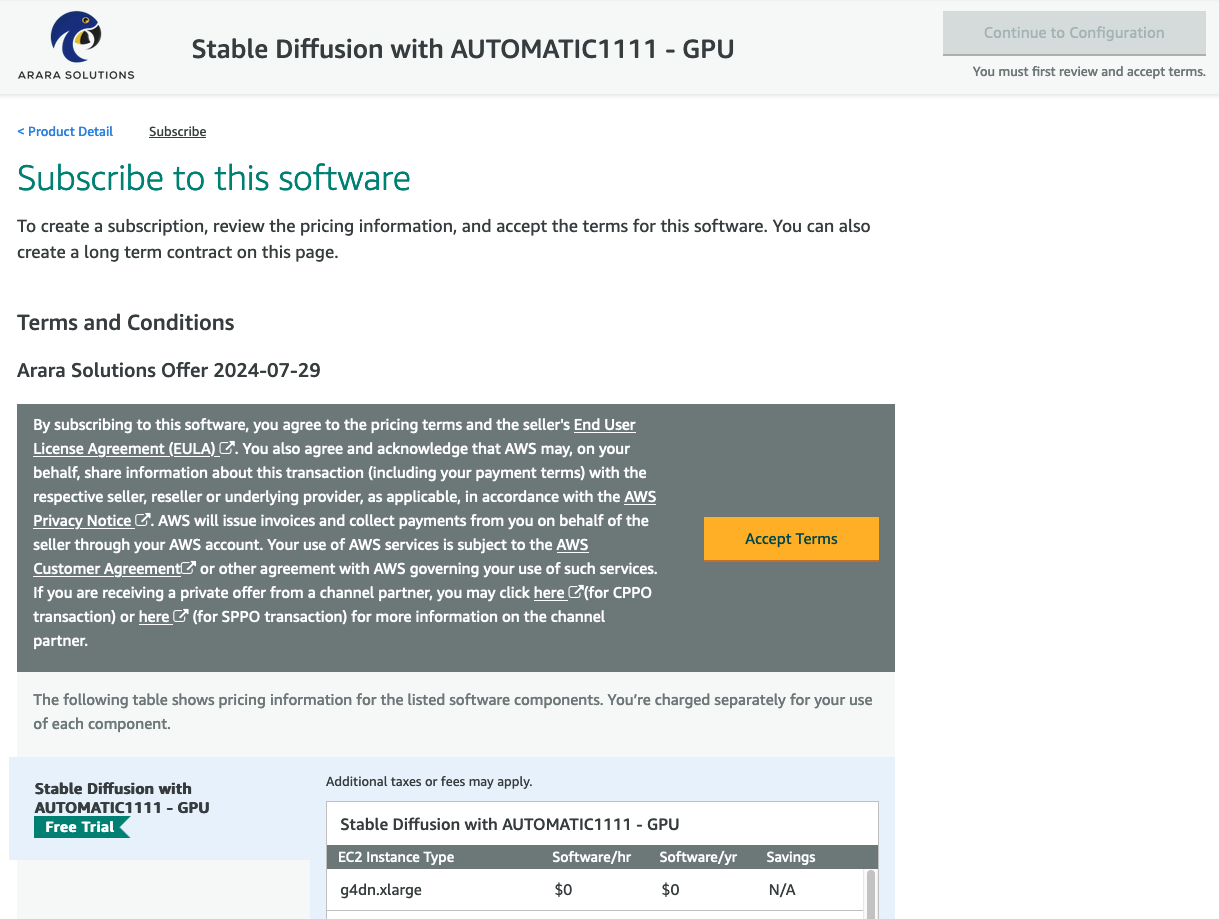
Subscribing
Step 4: Configure and Launch the AMI
-
Click ‘Continue to Configuration’: After subscribing, click the ‘Continue to Configuration’ button.

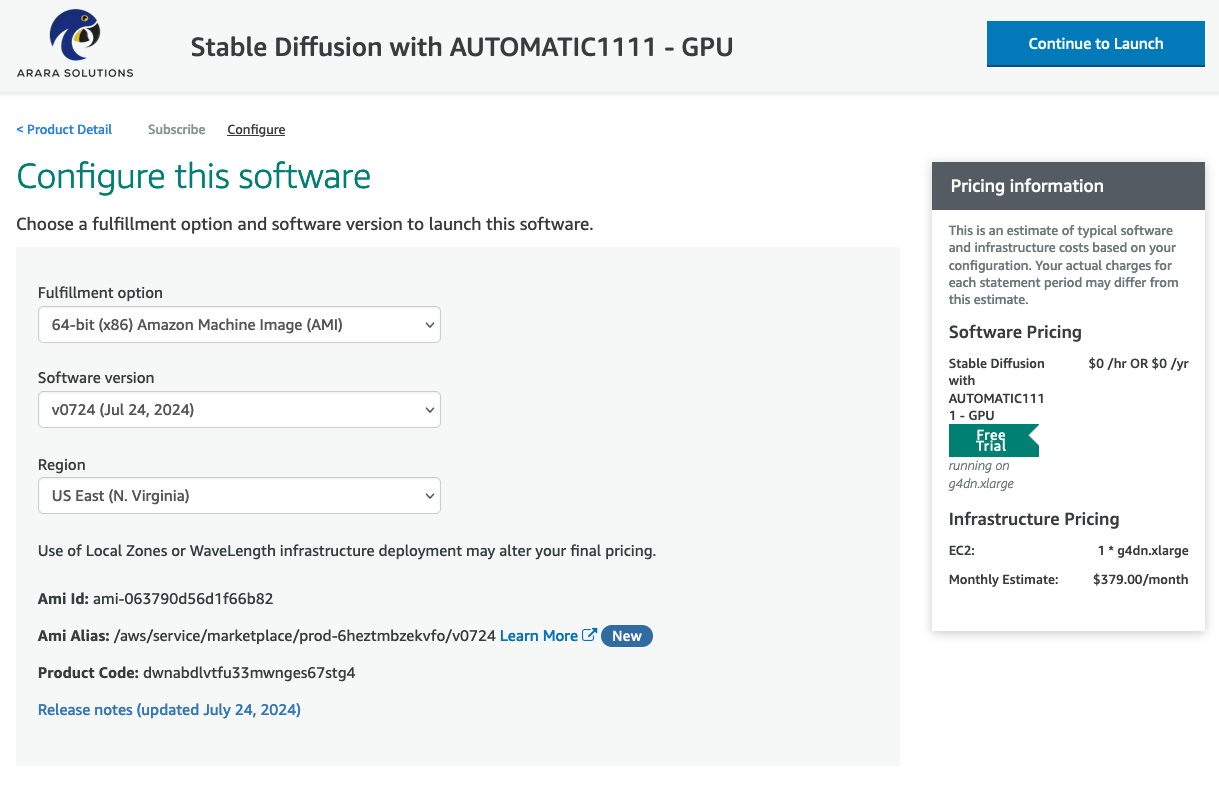
Configuring
-
Choose the software version and region: Select the version of the software you want to use and the AWS region where you want to launch the instance.
-
Click ‘Continue to Launch’: Once configured, click the ‘Continue to Launch’ button.
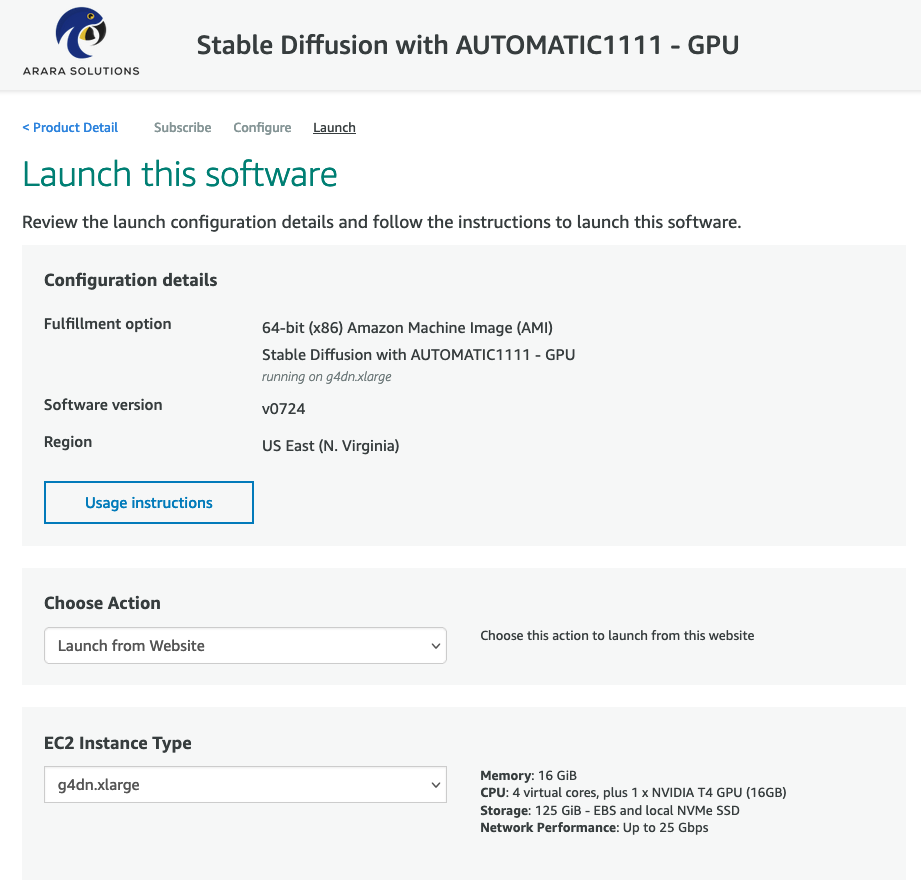
- Choose the instance type: For GPU-intensive applications like Stable Diffusion, select an instance type that includes GPU support, such as the
g4dn.xlargeorg5.xlarge. The time to generate images can improve with larger instances likeg4dn.8xlarge. - Configure instance details: Specify additional instance details like network settings, storage, and tags.
- Configure security group: Select security group or create anew one with the suggested TCP rules created (I recommend you to change this later to be more restrict to the IPs you are going to access your instance from)

Configuring security group
- Launch the instance: Review your configurations and click the ‘Launch’ button.
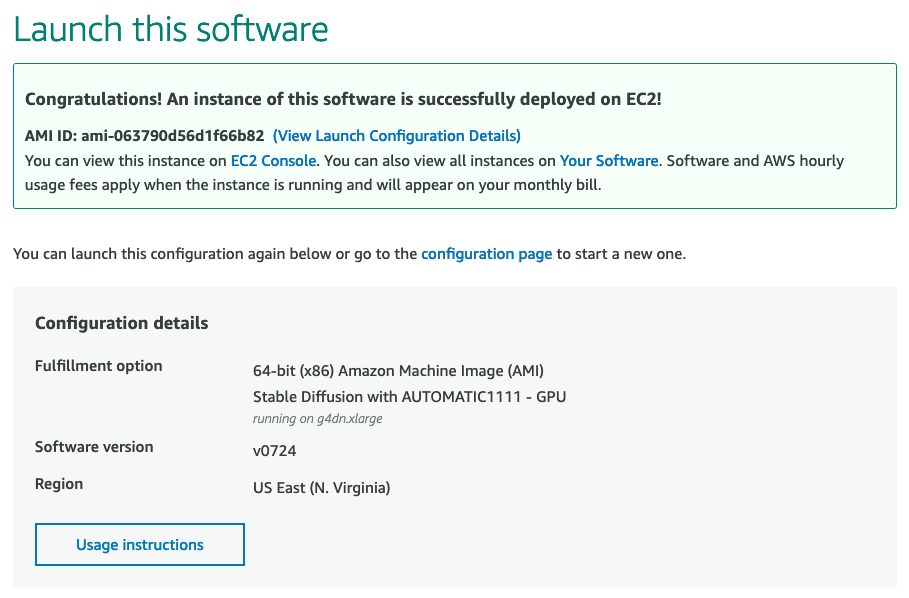
Launch complete
Step 5: Accessing Stable Diffusion via Automatic1111
- Navigate to the EC2 Dashboard: In the AWS Management Console, go to the EC2 Dashboard to view your running instances.
- Find your instance: Locate the instance you just launched.
- Find the public IP address: Select the instance and locate the ‘Public IPv4 address’ field in the instance details. This is the IP address you will use to connect to the instance.
- Access the web interface: Use the instance IP address to access the interface via http. For example, if the IP address is 34.239.94.134, access http://34.239.94.134:8080/ in your browser. The username is
sdadminand the password is your instance id.
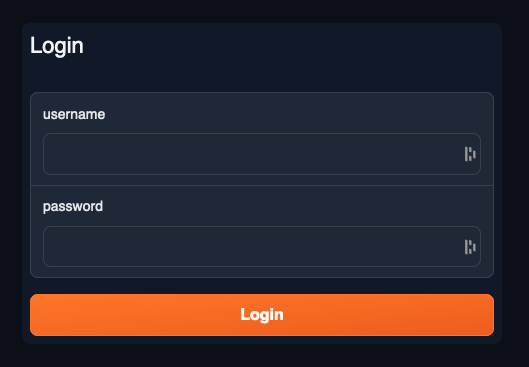
Accessing Automatic1111 interface
Step 6: Using Stable Diffusion to generate images
Enter a textual description of the image you want to generate in the txt2img input field.
Configure any additional settings as needed (e.g., resolution, steps).
Click the ‘Generate’ button to create the image.
In the example below, we are using the prompt an image of a blue arara flying to generate the image.
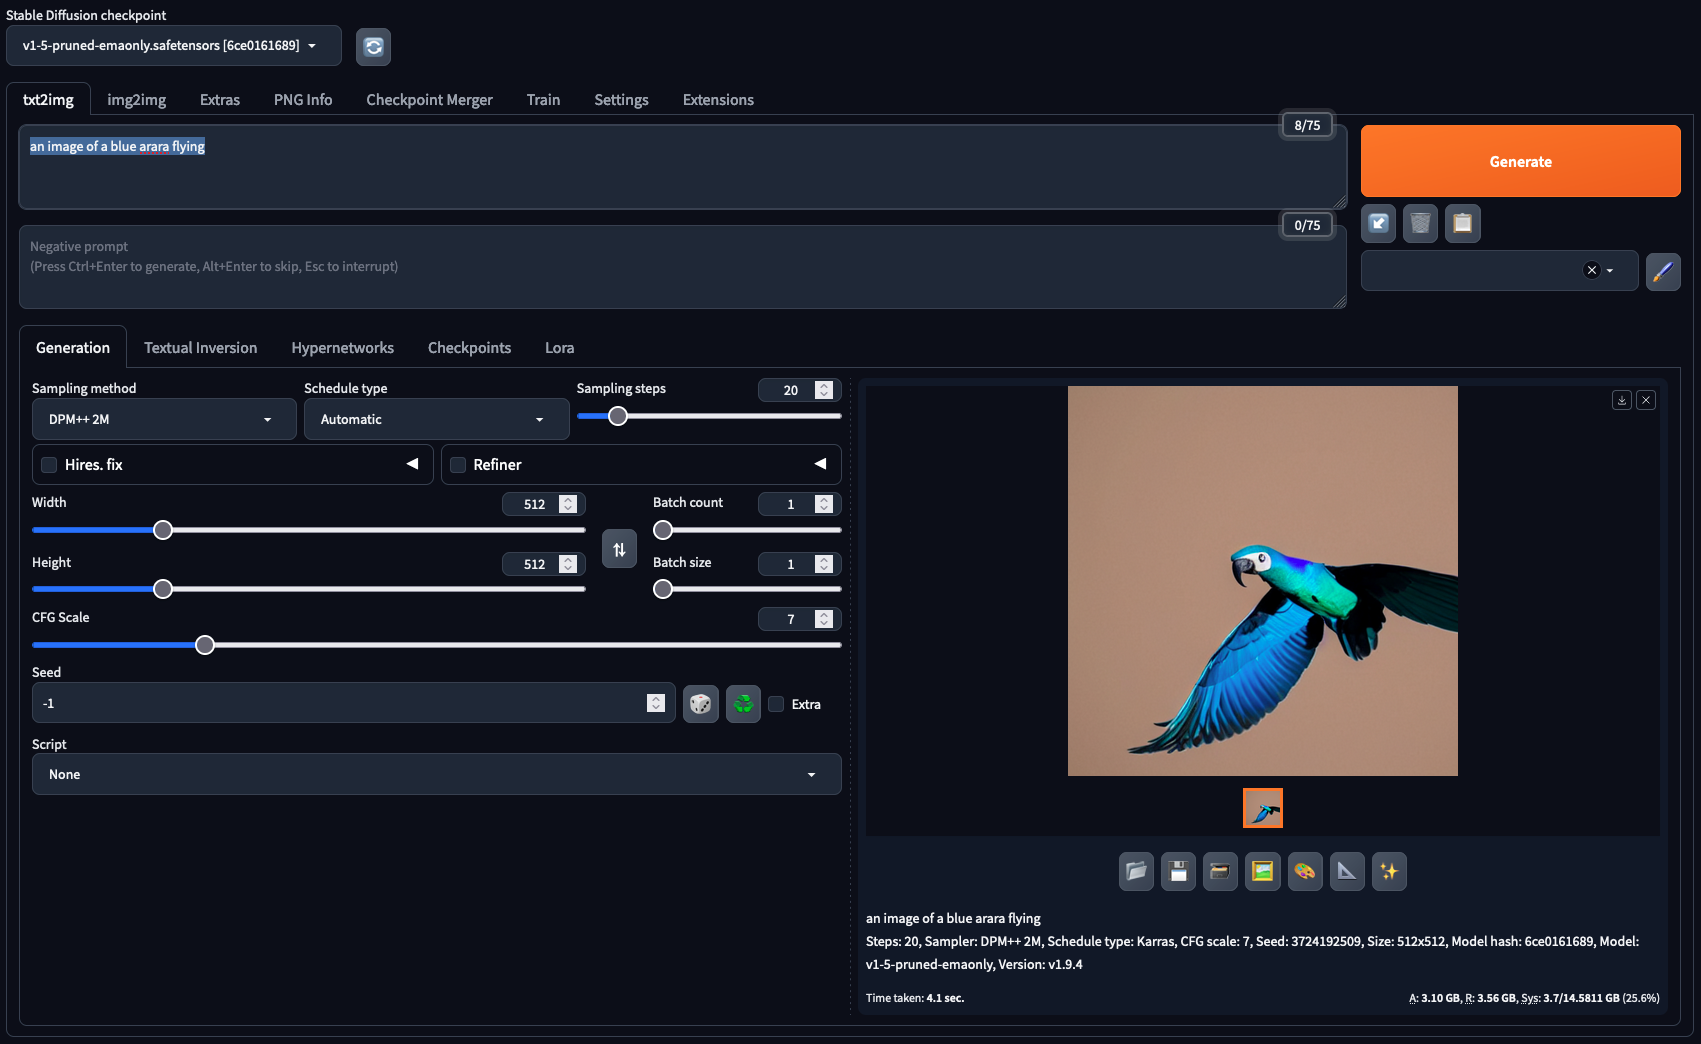
Accessing Automatic1111 interface
Conclusion
Using the Stable Diffusion with AUTOMATIC1111 - GPU AWS AMI from the AWS Marketplace allows you to quickly deploy a powerful image generation tool. By following these steps, you can easily find, launch, and manage this AMI, leveraging AWS’s robust infrastructure for your machine learning needs.